A Basic Desk
 Simple 90° Desk
This particular desk was pretty easy to design, there was no call for cabinets or drawers underneath.
In designing this desk, the first thought is to fill the area with a simple 90° structure. This forces the user to sit at the right or left wing.
 Desk With 45° Inside Corner
The next consideration would be to fill the inside corner with a triangle to create an angled seating area. This makes great use of the corner and creates a comfortable work station. The computer monitor is tucked into the corner and a person sits with books, papers, and folders arrayed on the right and left wings. This provides easy access to a large area to the right and left as office work tends to spread out.
 Desk With Inside Curve
The next step in the thought process of designing this desk was to fill the inside corner with a curve instead of a diagonal. Curves are a little easier on the eye, they tend to add a little more visual flow. The inside curve on this desk looks appealing and provides a good place to sit between the right and left wings.
The Layout
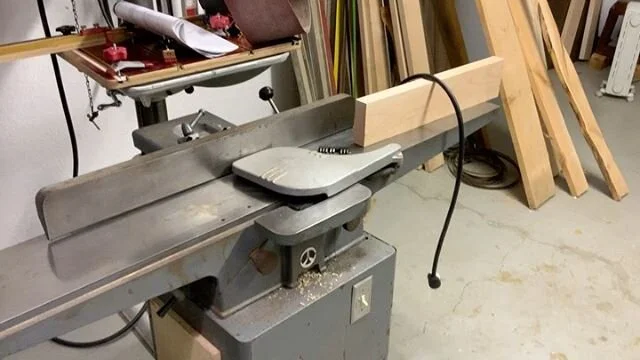
The desk material is 2" thick and I knew that I wanted to use a template in creating the curve in the desk.
 Scribing the arc.
I started with a piece of 1/2" plywood that was a little oversized of the arc I wanted to create. I mapped out the location of the desk that would be underneath the template. Now I knew where the structure was located.
I have a simple 4' flat metal straightedge that is quite flexible and would span the two points of the arc. But I needed a way to hold it steady while I marked both ends of the arc. I cut a couple of blocks that were 1 1/2" thick with a miter cut on one end.
 Blocks with miter cut allow access for pencil when scribing.
By using 1 1/2" thick material, that made the blocks tall enough to support the height of the straightedge. The angled cut allows me to get my pencil into the corner to mark as accurately as possible. Now keep in mind that accurate is relative here because I am working on a "rustic" style desk.
After flexing the straightedge to create the desired arc, I scribe it. Then I like to flip the straightedge end-for-end and see how it reconciles with the first mark. There is almost always a little deviation and I scribe the new line. Before cutting I double check to see how the arc looks overall
 Detail of scribed arc.
In my shop, as well as most shops, we are not running CNC equipment to layout or cut our arcs, so they are not going to be machine perfect. But you can increase the accuracy by doing a couple of things.
First, insure even pressure in the middle of the straightedge when when bending it to create the arc. Second, make sure the end points are securely and equally anchored, and the last step is to double check the layout by flipping your straightedge end-for-end and lay it out again.
No matter what you use to create the arc, whether it be a metal straightedge, wood strip, or plywood strip there will be a slight deviation somewhere in the line. If you flip the straightedge and lay it out again, it will usually deviate at the same point in the straightedge. When you scribe the second line, the deviations will be revealed and you will be able to make adjustments accordingly for the actual cut.
Once you get the arc lined out, it is time to cut. But that is for the next installment...
That is all for now. Be sure to spend some time in the shop practicing what you learn.
Your friend in the shop - Todd A. Clippinger
Share the Love~Share the Knowledge