
Melamine Part 2: Edge Banding
/I just finished up the video for applying edge banding to melamine. This video follows Part 1 on how to get clean cuts in melamine, which can be quite a challenge without the right blade and techniques. Once the melamine is cut, often it will need to have edge banding applied. So I cover this topic in Part 2.
I could have made a 2 minute video that shows me applying a piece with an iron and trimming the excess, but that can leave a person with a lot of questions.
In these videos, you not only get the information and a good demonstration, but plenty of peripherial information so you can dive into it with confidence for a variety of situations and knowing how to deal with imperfections.
The information in these videos is geared to the beginner and small shop or DIY individual. Because not everyone has heavy equipment like a pro cabinet shop to accomplish these tasks, but I know you can get great results with this information.
I have posted part 1 again for anyone who has missed it. The footage was all recorded at the same time so part 2 is a true continuation of the first video.
Melamine Part 2: Apply Edge Banding
Melamine Part 1: Getting Clean Cuts
I hope you find these videos helpful.
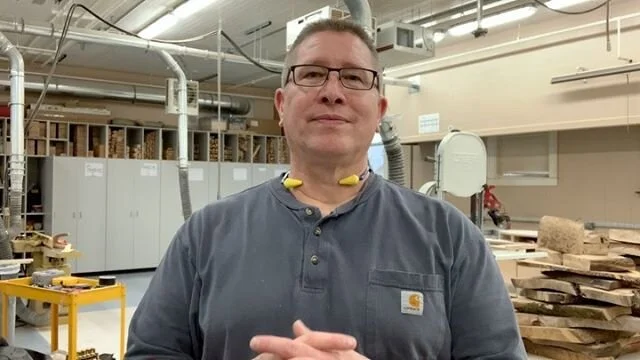
Todd A. Clippinger