Work Published in Magic City Magazine
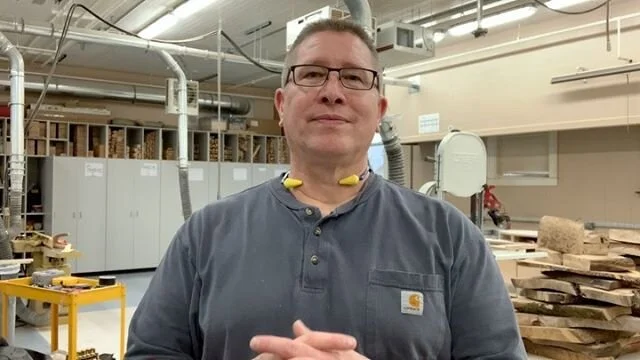
One of the remodeling projects that I had been working on for the last few years got some nice coverage in the Magic City Magazine. 

Magic City Magazine is a pretty slick publication that covers stories of design, fashion, food, and the happenings around the Billings, Montana area. (Billings is known as the Magic City, hence the magazine name.)

The story covers 2 remodel projects of smaller homes that had some creative and higher quality remodel work done to them. Usually, any of the stories covering homes and design always feature the biggest, most expensive homes, so it was nice to see that smaller homes can also showcase high-end work. 

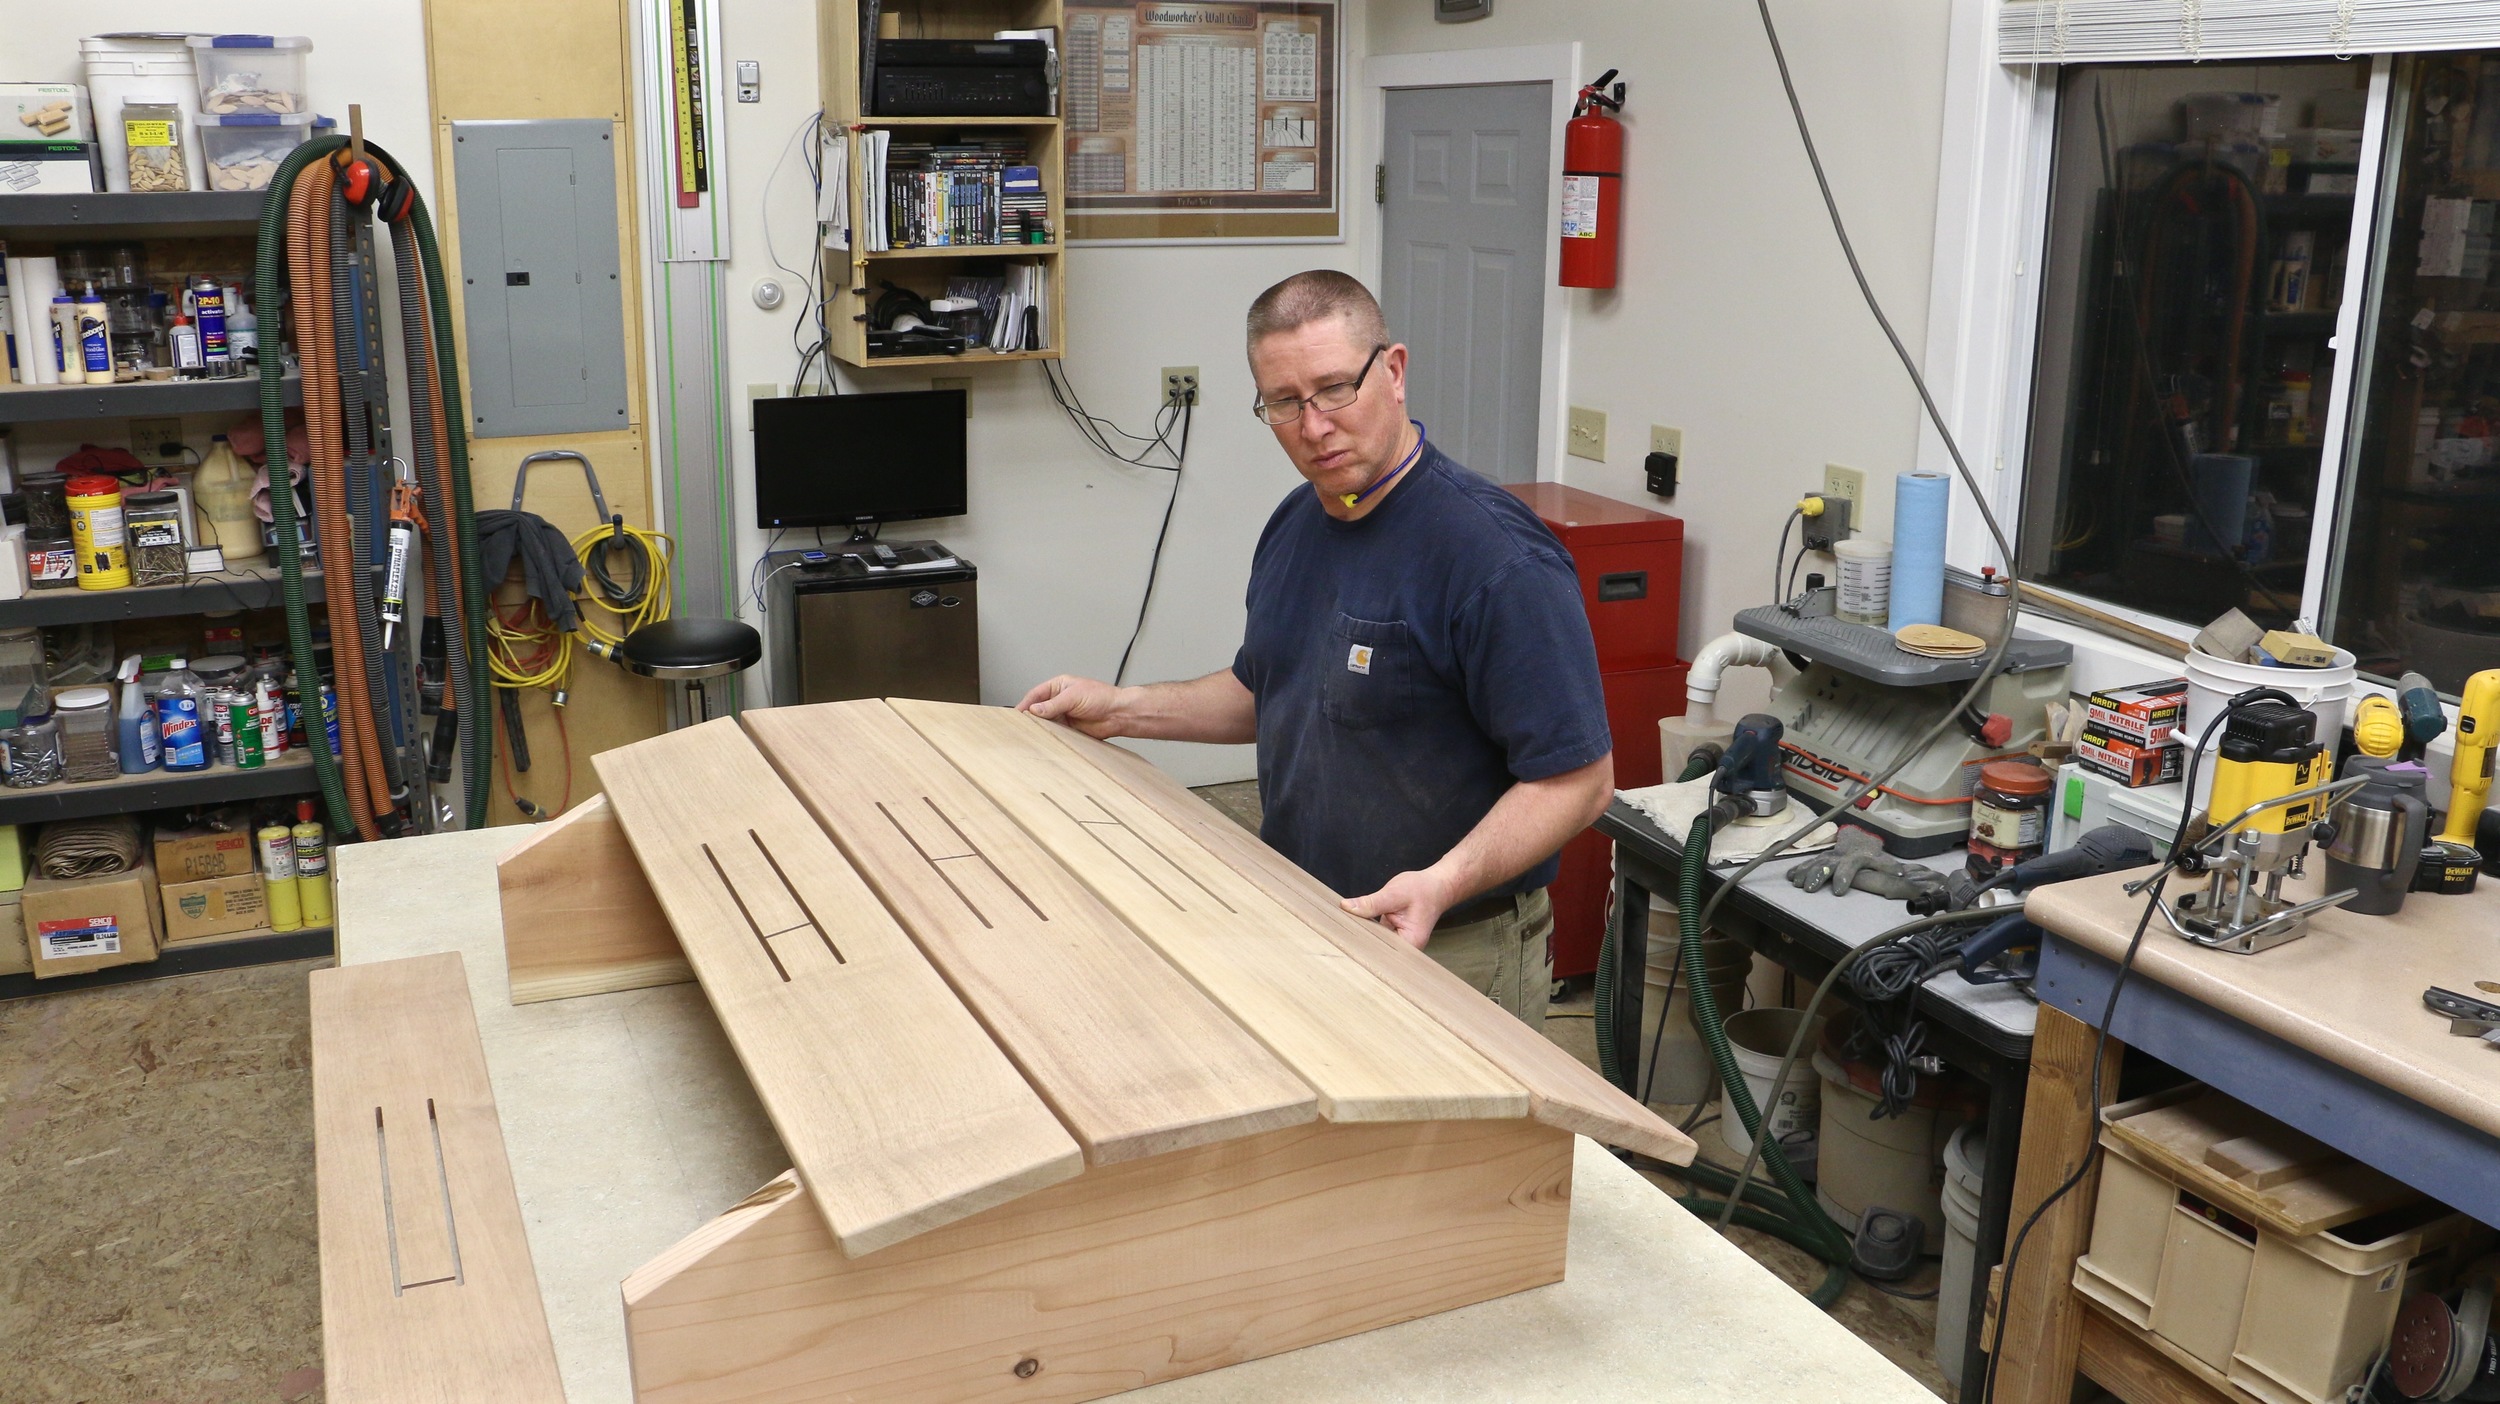
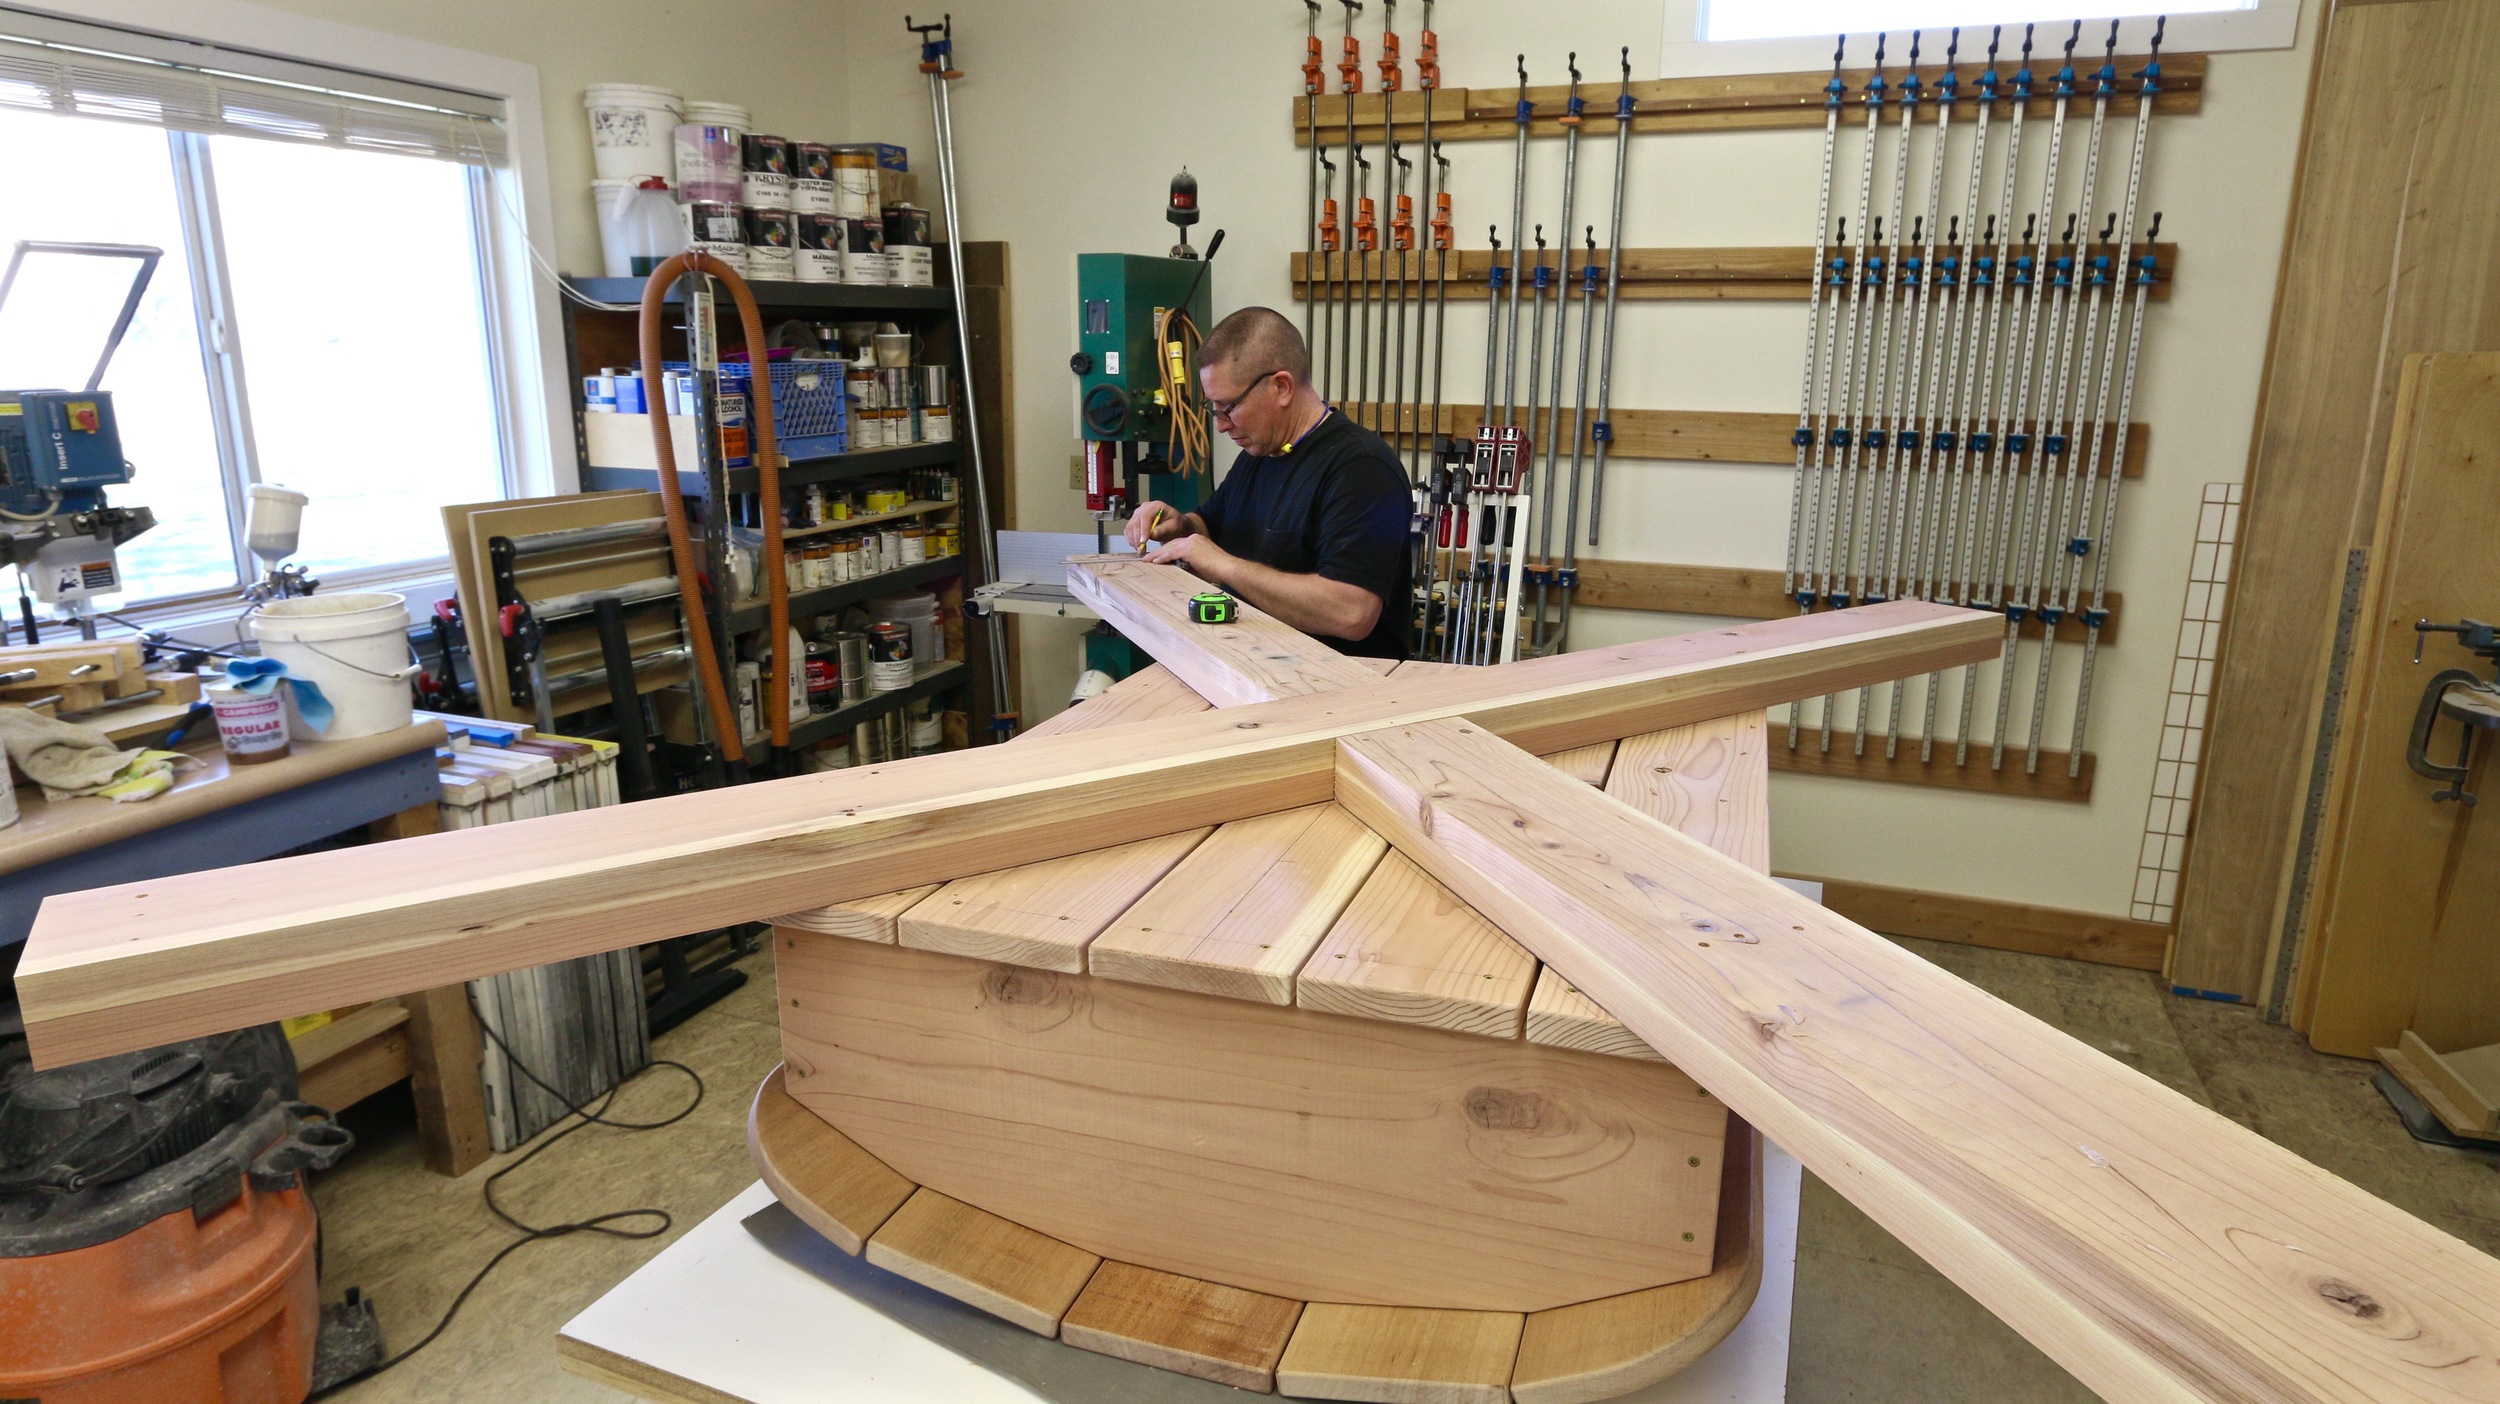
As you read the article, I know it is difficult to know what I really did in the remodel, but to summarize: I built the arch in the front of the house, built & installed cabinets, did custom built-ins, rebuilt the stairs going to the basement, framing, removed walls, built walls, sheetrock, mud work, built under-stairs storage, built a custom door for that storage, installed doors, trim work, and blew my back out moving sections of bowling alley for the yoga studio floor (that was brutal.) 

The clients and I were both a bit disappointed that the bathroom did not get any coverage, it was pretty sweet. I vaulted the ceiling to follow the roof, installed a skylight, and built a cool modern cabinet for storage out of black walnut. 


It was great getting a mention and having my work covered in the article. A big thanks goes to my clients who gave me the opportunity to work on their house and become friends along the way. They had a great sense of creativity and were great to work with. 

Check out pages 25 through 29 of the digital edition of Magic City Magazine. 

You can follow my latest projects on my Instagram feed and, stay tuned, I am working my way back to producing more video;)

Your friend in the shop-

Todd A. Clippinger

Share the Love - Share the Knowledge


Guest Interview on The Matt and Matthew Show

I was honored to be the special guest on the Matt and Matthew Show, a woodworking talk show on YouTube that is hosted by Matt Cremona (Matt) and Matthew Morris (Matthew.) They are both woodworkers that recently caught my eye for the woodworking that they do. 

Matt and Matthew are a couple of good guys and I had a great time visiting with them. If you check out the video, you will see we had a pretty good momentum going before the cameras even started rolling. It was a lot of fun to visit with them and talk about woodworking. 

You can find Matt Cremona at his site MattCremona.com  and at his YouTube Channel.

Matt Cremona caught my attention when I saw the secretary he was working on, he really has challenged himself and has grown as a craftsman with this project. It was an ambitious undertaking and, at the time of this post, the project is just nearly complete and it is impressive. 

Matt also harvests his own material and you can follow along on those adventures through his videos. There is a lot to learn if you follow his journey. Matt has a pretty infectious laugh, he really cracks me up. 

You can find Matthew Morris at his site MMWoodstudio.com and and at his YouTube Channel. 

You may be interested in checking out Matthew Morris' woodworking classes featuring Greene & Greene projects. You can find them at the Online Classes page at his website.

Matthew caught my attention because of the quality of work that he displays in his furniture. Of all the people flooding the internet with woodworking information, Matthew's work and information is legit. You can see this by the information he shares and the high-level craftsmanship of his work. 

I had a great time talking with Matt & Matthew and felt honored to be a part of their show. I recommend you check them out. 

That is all for now. I have a lot of work to do, so I need to head out to the shop!

Your friend in the shop,

Todd A. Clippinger

Share the Love - Share the Knowledge


Rediscovering the Joy of Woodworking

 I love woodworking and I actually make my living by working professionally from the shop. I had to give up remodeling due to health issues specifically connected to remodel activity and the things it exposes me to. So now, all of my projects are shop based.

Fortunately, I have years of connections and reputation behind me now, and that has led to continued work, strictly from the shop. I get all manner of projects, there are so many things that need to be built for companies and clients, way more than just cabinets. 

Even though I love the woodworking and the challenges I face as a professional, I lose some of the excitement for it because I do it everyday. I realized this as a recent project came through my shop for the local Audubon Society. They are building an interactive playground, and they needed a turtle for the kids to drum on. So I built a "drum turtle."

I take pride in my ability to design and build under pressure (that comes along with being a business) and to execute very technical projects to a high degree of professional quality. The drum turtle was clearly not a technical project nor anything that could be considered fine woodworking, and when I accepted it, I had the passing thought, "this could be kinda fun." In all honesty - I had a blast!

I was given a screenshot that the director found online, I have no idea from where, but I did not care for the design. Even though it is a simple concept and an outdoor project, the drum turtle in the image was just not a very good design so I came up with my own.

Most projects are very technical and I have to get very specific with the design and details. But for the drum turtle, I did not spend a lot of time on it.

I had a rough idea of size and that gave me all I needed to buy the materials. But I did not head into the project with any design details on paper at all. I simply started by building the basic body first, then I designed everything else on the fly just to fit the body. 

It was really liberating to just make it all up as I went along. After making the body, I knew that I had to glue up material to get it thick enough for the legs, the neck/head, and the tail. 

At the time I was gluing up the stock for the legs & neck, I did not have any idea of the details or shape that I would make them. But the designs started to flow as I started working on the pieces. I realized the goal was to just keep it general and as a graphic, to represent a turtle, rather than being caught up in creating a life-like sculpture. 

After gluing up the stock, I squared it up and attached it to the underside of the turtle. It was at that point I determined what the finished width and length should be without even knowing the detailed shape of the feet. 

As the legs were mounted on the body, it hit me just what the shape should be. So I created a template with some 1/4" hardboard and that way I could transfer it to each foot so they all would be the same. 

As the feet took shape, it really confirmed that it all should be kept very as a very general representation and stay away from being detailed.


I actually had to deliberately force this thought since I most often deal with lots of details. Once I began to loosen up from my normal thought process, I really started having fun! 

While I was working on the legs and feet, the tail naturally came to me. I didn't measure anything out, I just stuck the tail board on the turtle and made a mark to cut it at a length that just felt right then I cut out the form at the bandsaw and then sanded it out and routed over the edges. 

What I found interesting, was the way that my mind would naturally start working out the details of next piece while I was still finishing out the one I was one.

For instance, at the point that I was sanding and detailing out the tail, my mind was not needed for that task, so it had moved on to the next task. My physical actions were always just a step behind since it takes longer to perform the task than to think it out. 

By the time I got to the neck & head, I pretty well had it figured out. Once again, I did not really measure anything, I placed the stock on the turtle body and marked where I thought it should be cut. Actual numbers were meaningless, I just went by how it felt. 

I roughed out the head at the bandsaw and sanded it out into a smooth shape with my little Porter Cable "armadillo" sander. That has become one of my favorite sander. I used to handle the big sanders the same way, but PC really nailed it when they designed this little gem to be held in one hand. 

I finished the parts on all sides as I assembled it, this will provide for maximum protection. I found a certain relief to not worry about a flawless finish as I do with all of my higher-end projects. 

I have already been getting questions about the finish, so I will share for those that are wondering: I used Messmer's deck finish that is formulated for mahogany, ipe', and tropical hardwoods because the back of the turtle's shell is mahogany. It will work fine on the redwood as well. I put 2 coats on everything. 

Normally I push for Sikkens. With all the years of remodeling and decks I have done, it has been my observation that nothing holds up like Sikkens. But it is a hard sell at $80 per gallon, so I used Messmer's. On average, it is just OK as all the other products that major companies sell are, which are all still second to Sikkens from my experience. 

Here is the drum turtle front and rear views all finished. 

I have no doubt that you are wondering how it sounds so you can check out this clip. 

The director of the local Audubon Society was really excited and pleased with the results of the drum turtle when I delivered it.


The interactive playground is not ready to receive the drum turtle so it will stay on the patio of the Audubon center until it can be put in it's permanent location. Here the visiting school kids can start using it. 

In the end, I was happy with the results, I had a great time building it, and I learned something too: keep the fun in woodworking. 

Your friend in the shop,

Todd A. Clippinger

Share the Love - Share the Knowledge